No. 8 Learning Packet: Earth Science


No. 8 Learning Packet: Earth Science
Learning Packet No. 8: Earth Science
Resource Guide
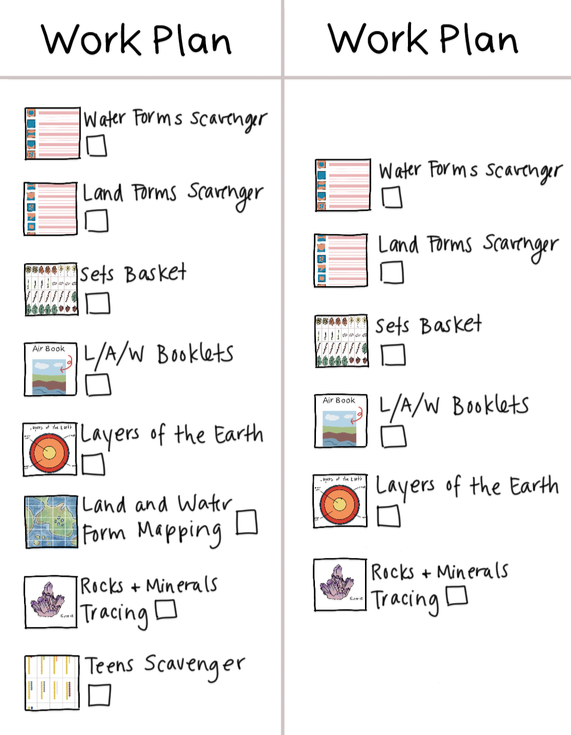
This packet has a wide breadth of introductions to many areas of Earth Science - it includes two Work Plan options that you can display in the child’s work area. I would recommend one or two activities in a day, then check them off. There is a version that has all the work on it and one that leaves out the more advanced activities:
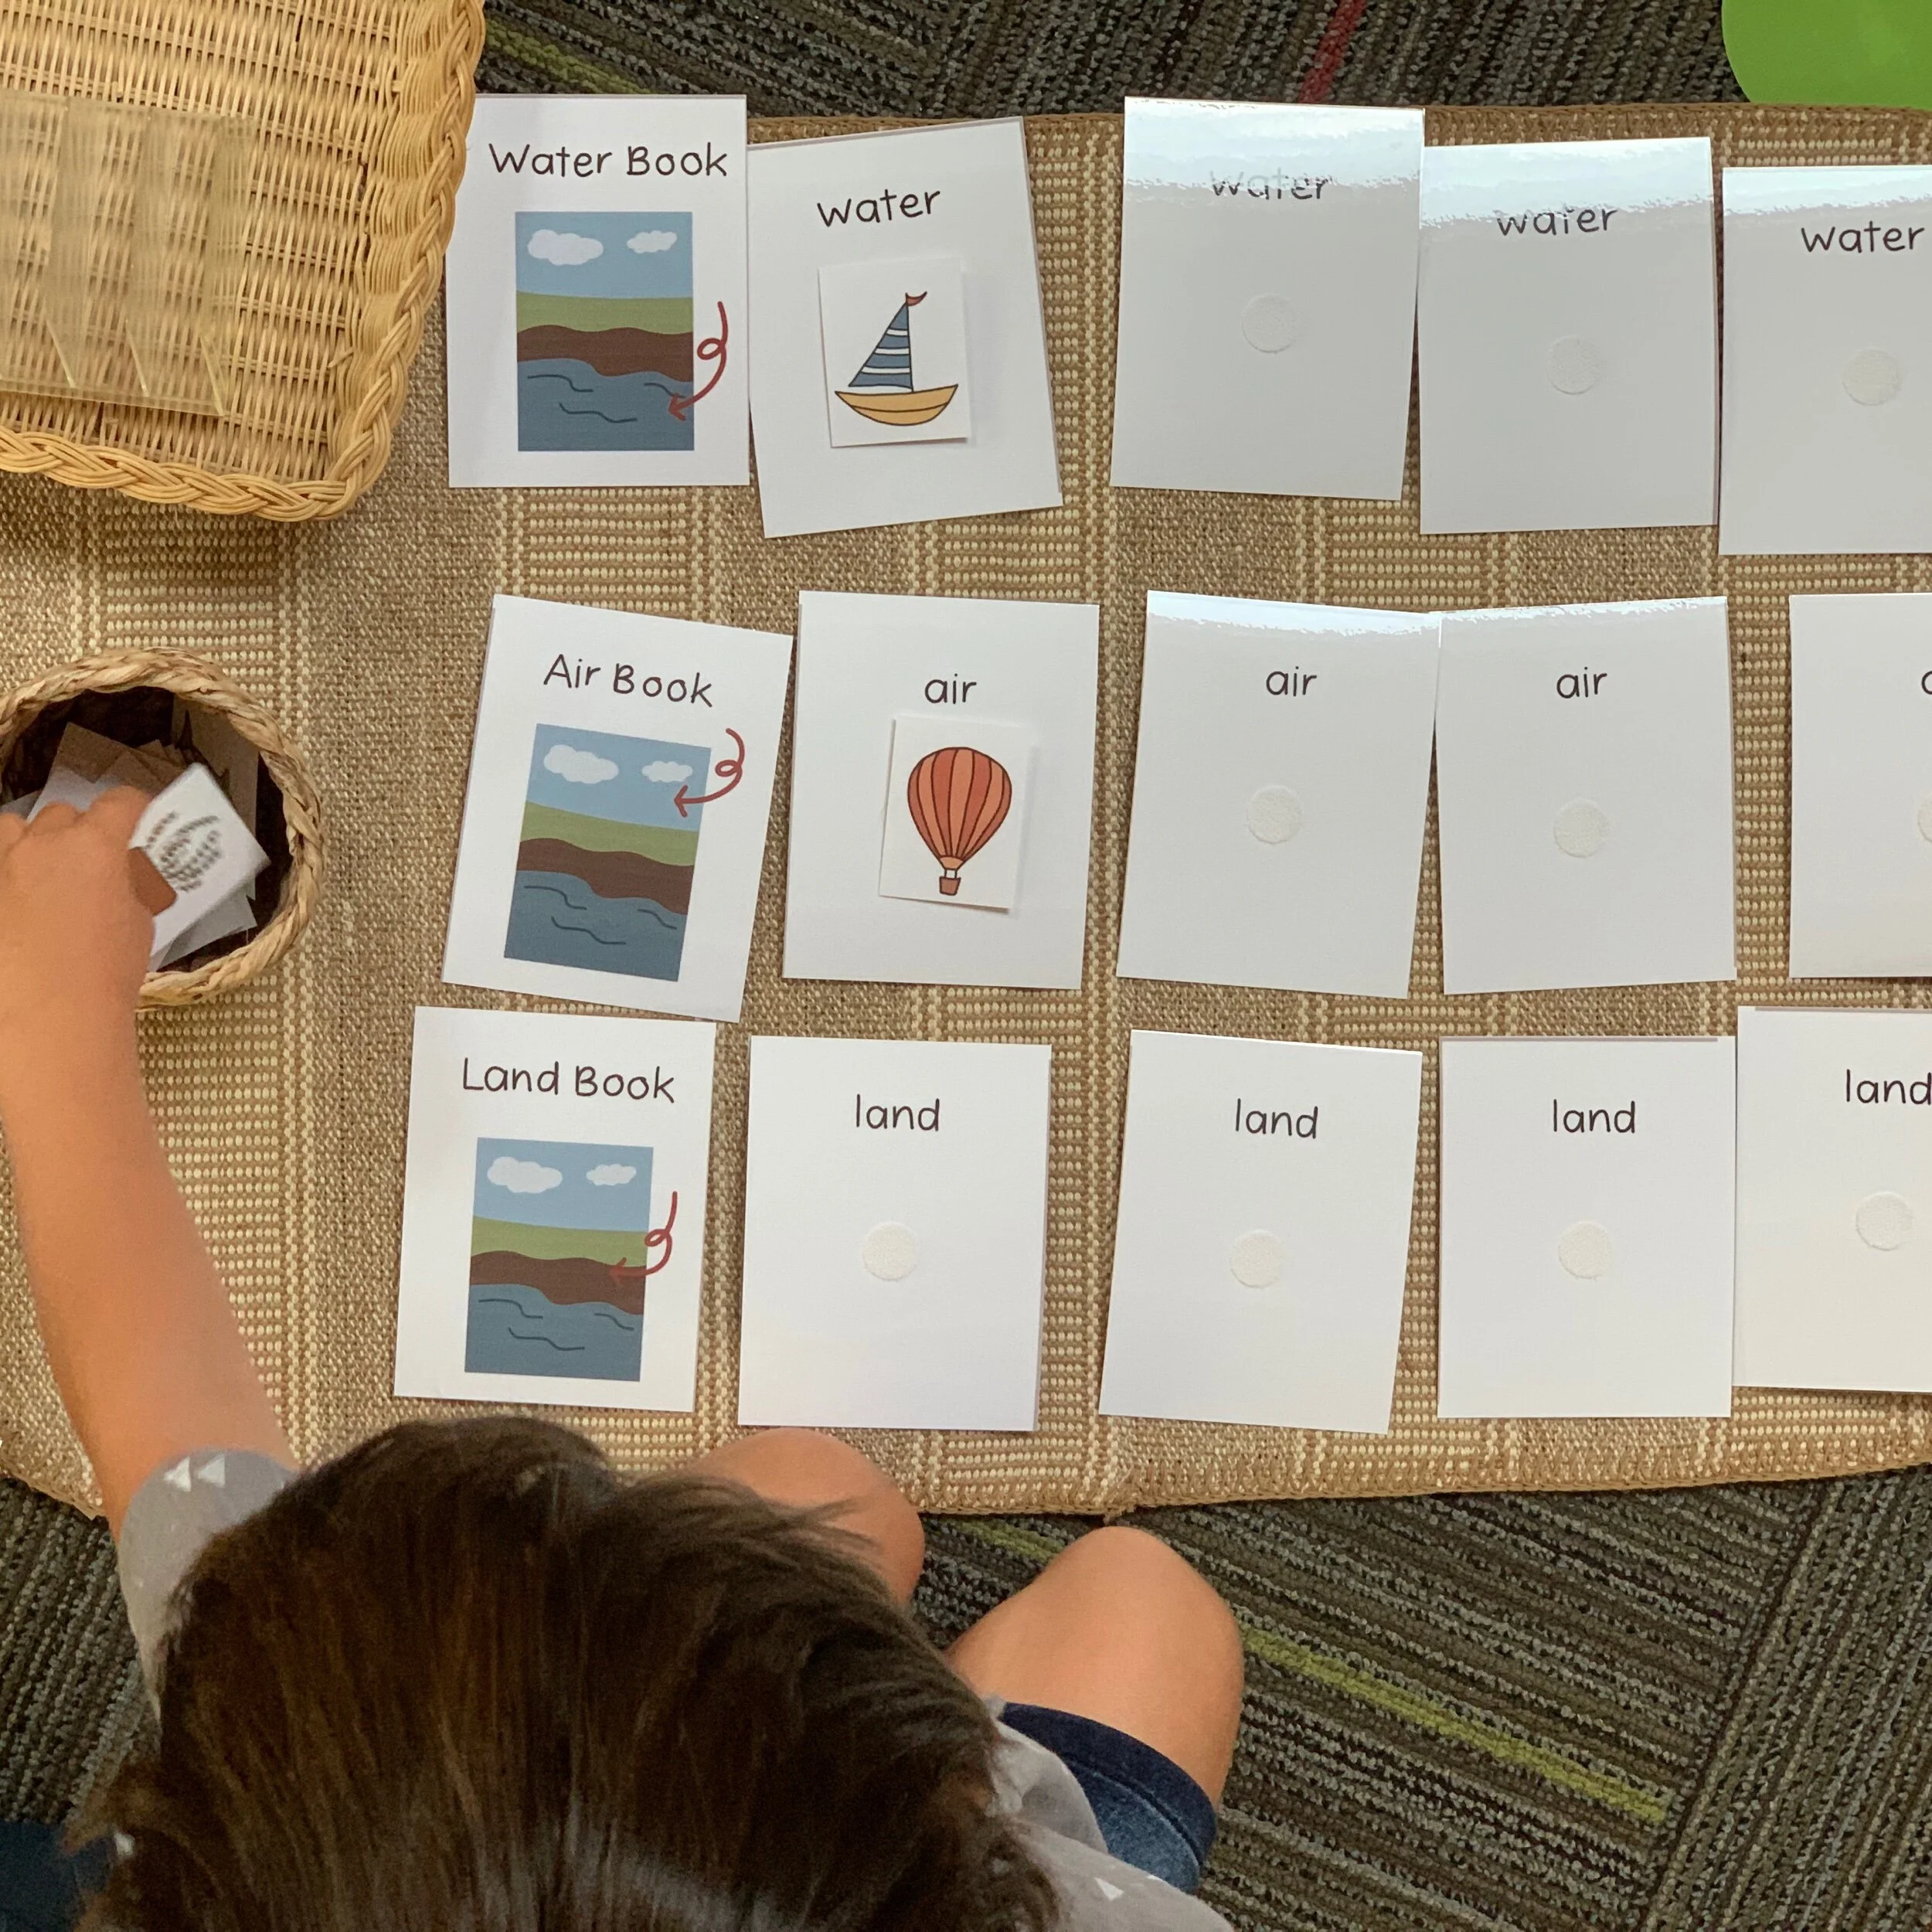
Land/Air/Water Booklet Making
Child cuts small illustrations out and sorts them into Land, Air or Water categories. They then would glue one picture onto each of the four pages of each booklet. But along the great line, find the appropriate cover and staple. It makes 3 books.
Layers of the Earth Diagram
Following the Master Diagram, child colors circles, cuts them out and glues them to mimic the master diagram. They would then cut the labels and glue.
Land Forms Scavenger Hunt
Hide large labels around your environment. Supply child with the student sheet and clipboard, every time they find a large label, they copy the word down next to the appropriate picture.
If your child is not writing yet, they can check them off as they find them.
Water Forms Scavenger Hunt
Hide large labels around your environment. Supply child with the student sheet and clipboard, every time they find a large label, they copy the word down next to the appropriate picture.
If your child is not writing yet, they can check them off as they find them.
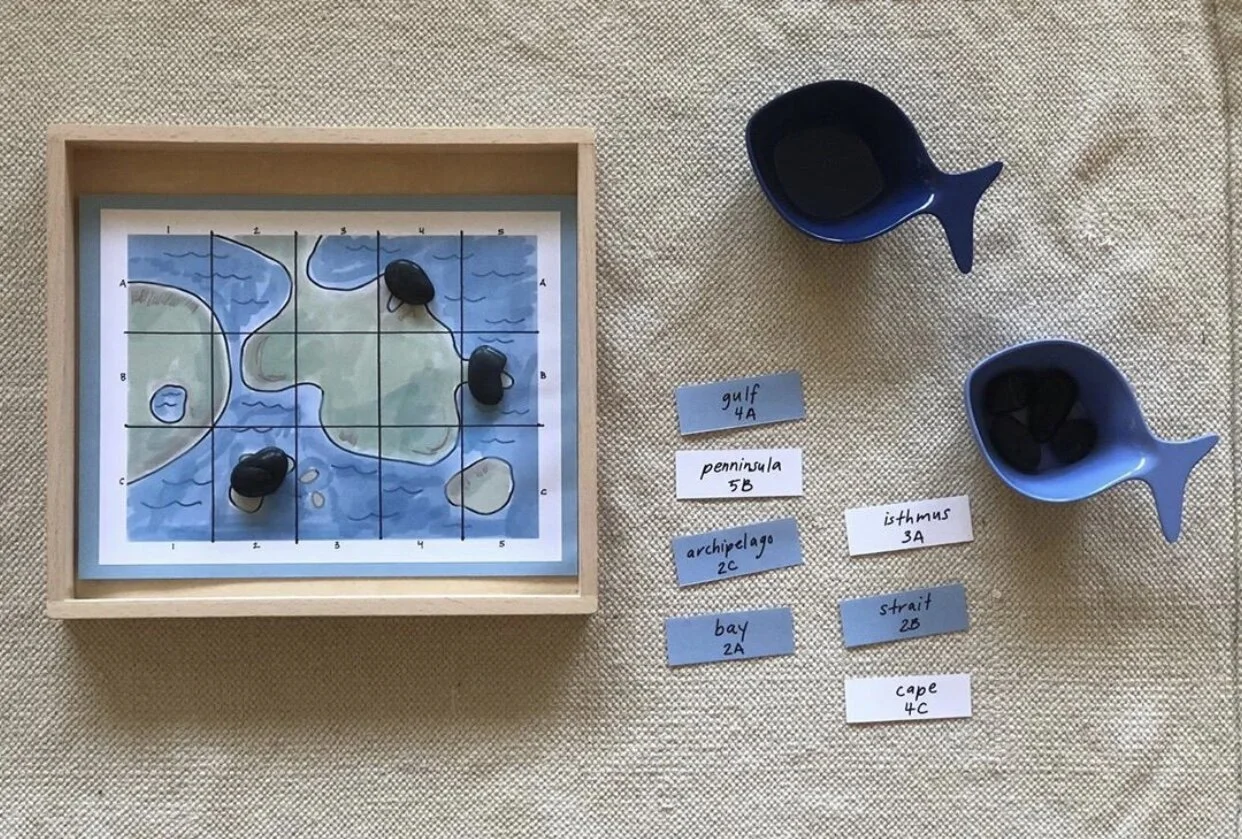
Land and Water Forms Mapping Game
Ideally print on cardstock and laminate board as well as cards. Cut cards out, shuffle and make available in a pile upside down. Get a bowl of objects - such as gems, buttons, other game pieces, wooden coins for marking (depending on if you’re playing with a partner - you each should have your own markers). You can play this game by yourself by picking a card, following the chart and placing your piece. You can play it with a partner by having your own pieces to mark with. There are no winners or losers - this is a cooperative game! Though, if you wanted to make it a win/losing game - I’m sure there are many ways to decide who wins! Good luck!
Rocks and Minerals Tracing
Print on cardstock and laminate. Supply child with clips and tracing paper, a sharpie and watercolor paints. They trace with the sharpie and then paint it in according to the master. If you don’t have these supplies - they can be coloring pages.
Sets Basket Scavenger Hunt
Adult cuts out all small pictures.
Child sorts into piles and then counts up each pile. However many objects there are - they are glued next to the corresponding number.
A variation is - you can hide ALL these objects around the house and the child can collect them as the week goes by and place them on the paper that lives in a stationary place.
Another variation is you can cut and laminate the pieces for a sets basket - also include the number cards so that they can label each set.
Yet another option is, using the pictures as a clue, you and your child can set off on a nature hunt to find those real life objects.
Teens Scavenger Hunt
This is a variation of another Teen Hunt I have. Hide the bead cards around your environment. Give your child a clipboard, a marker and the student sheet. When they find the beads they count them up and trace over the corresponding number.
Another variation is this can be used as a matching game (without the scavenger hunt component.